Tag: moringa
Moringa Seedlings
Here at PHA we have a smaller internal team dedicated to germinating Moringa Seeds. It’s proving to be a tough endeavor coaxing life into these dry, scaly seeds in the cool Northern California climate.
Our last seed germination project, a Pwa Workshop was so simple and straightforward. You can grow a 3 inch bean seedling in under a week with almost zero effort. Not so with these Moringas.
Lead Artist Jenni Ward incubated these two seeds on a fish tank light. Then I carelessly left them on a windowsill in my Oakland, CA apartment over the weekend and came home this morning to discover green life.

Music to my eyes.
Following are planting instructions for Oleifera Seeds from Moringa Matters.
There are many ways to plant Moringa seeds. Some Moringa growers soak the seeds for a few days, some plant them in pots, somesow them directly into the ground. Our best results have come from starting them in small pots, in loose, organic potting soil that has some coconut coir mixed in with it.Plant them about 3/4 to 1 inch deep, and tamp the soil down on top of them loosely. They do not like compacted soil. Then, water them thoroughly, put them in a warm place with as much light as possible, and wait. You can give thema little water every day, until they sprout – then, every other day, water until the soil on top is moist. Too much water – they will drown!
Once they are about 8 inches tall, we plant them right into the ground or transfer them into larger pots. You can start them in Jiffy Peat Pellets, but peat does not provide enough nourishment for them to thrive. If you use the Peat Pellets, transplant them into larger pots filled with potting soil, when they are about 3 inches tall – Jiffy Peat Pellet, and all!
Above, we mentioned soaking the seeds. If you do, be prepared – they develop a strong, unusual smell. We usually plant ours right into the potting mix or into the ground, but soaked seeds are fine – just remember to use the water they soaked in, when you are planting them. They do not care for clay, heavily compacted soil, vermiculite, or peat pots. The Jiffy Peat Pellets are fine for sprouting them, but peat pots dry out too fast for Moringa seedlings. If that is all you have to use, you will have to keep a close watch on them, so they do not dry out.
If you intend to start them right in the ground, please remember that Moringas are considered to be a tropical tree, and they require sunlight, warmth, and some water to grow properly. Once they are firmly established, with “woody” trunks, Moringas can withstanddrought-like conditions – but, they need the 3 items underlined above, to get off to a good start. Moringa seeds prefer to sprout in temperatures that are between 70° and 90°F. Allow for good drainage, however you plant them, as their roots will rot in soggy soil.
Within 2 weeks of planting your Moringa seeds, you should have seedlings up, sporting healthy, green leaves. Once they put out some distinct branches, water them only once or twice a week. They do not like their roots to be standing in wet soil, so be sure they have good drainage. When they are about 8 to 10 inches tall, we start to harvest a few leaves from each seedling, by cutting the branches in half, which encourages them to “bush” out.
Not too much water, lots of warmth, occasional organic fertilization, some water, and your Moringa seeds will sprout, and grow into lovely, valuable Moringa trees!
Magic Moringa Tree
We are always open to exploring sustainable, gardening, food production-centric art projects. It was with excitement that we stumbled onto the Moringa Tree upon a recommendation from a former Peace Corps volunteer who had worked with the tree in Africa. Also commonly known as “the horseradish tree,” the leaves from this plant have:
7 times the vitamin C in oranges
4 times the calcium and 2 times the protein in milk
4 times the vitamin A in carrots
3 times the potassium in bananas

About the Moringa:
Moringa oleifera is known as a miracle tree by international aid groups across the world. The tree suprisingly has more beneficial uses to humans than any other plant species. Moringa is the sole genus in the flowering plant family Moringaceae. The name is derived from the Tamil word murunggai (முருங்கை) or the Malayalam word muringa, both of which refer to M. Oleifera. It contains 13 species from tropical and subtropical climates that range in size from tiny herbs to massive trees. The most widely cultivated species is Moringa Oleifera, a multipurpose tree native to the foothills of the Himalayas in northwestern India and cultivated throughout the tropics.Moringa Oleifera is known as the drum stick tree in India and is used all across Asia and Africa. It is considered a miracle tree because of its high nutrient value; it has more vitamins than spinach, cabbage, or any other leafy vegetable. It is highly valuable because every part of the plant has a function, including the use of the flowers for medicinal tea and the use of the peapods as food.
Significance for Haiti:
Haiti ranks highest for malnutrition in the western Hemisphere, and over half the population lives below the minimum level of dietary energy consumption. Moringa will help provide lactating mothers and infants get the nutrition they need in early development, when it is the most vital. The leaves of the Magic Moringa contain all essential amino acids and are rich in protein, vitamin A, vitamin B, vitamin C, and minerals. Feeding the high protein leaves to cattle has been shown to increase weight gain by up to 32% and milk production by 43 to 65%.More importantly, the dried seeds can purify unsafe water. By leaving the dried seeds in a bottle of unclean water overnight, between 90-95% of the bacteria can be purified.

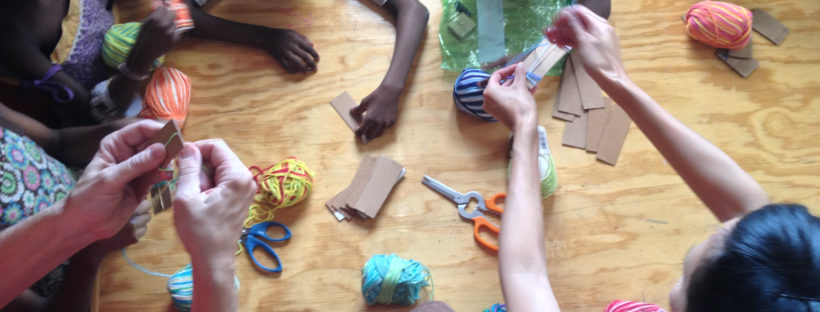
The HOPE Art project will be focused on teaching the children to grow their own Moringa trees from cuttings and developing an artful cookbook focused on incorporating Moringa Leaf Powder into standard Creole cooking. We will also be working on creating planters from reclaimed buckets, barrels and coffee or banana bags with chicken wire.
To grow from a cutting:
After the trees have stopped producing fruits each year, branches need to be cut off so that fresh growth may take place. These branches are excellent for growing new trees.
Make a cutting at least 1″ (2.5cm) in diameter and at least six feet (1.8m) long.
Dig a hole 3 ft. (1m) x 3 ft. (1m) and 3 ft. (1m) deep.
Place cutting in this hole and fill with a mixture of soil, sand and composted manure. Pack firmly around base of the cutting. Form a slight dome or cone shape, sloping down away from the cutting. It is desirable that water not touch the stem of the new tree.
Water generously, but do not drown the cutting in water.
In India, the custom is to put some cow dung on top of the open end of the cutting. This is an excellent way to protect the cutting from pests.