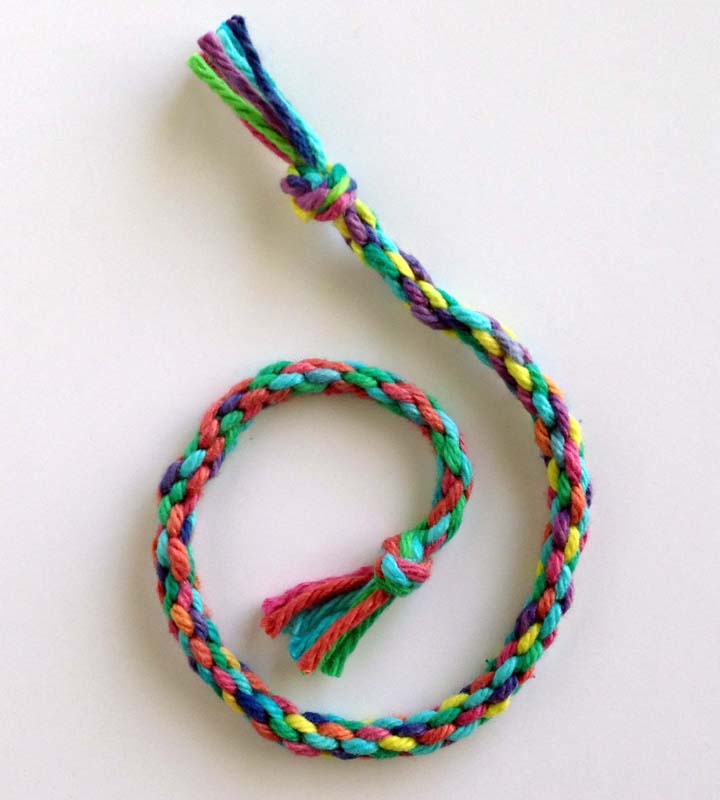
 We were looking for fun yarn projects to take to Haiti next month, and happily found this technique to make a rounded braid. It looks a lot more complicated to make than it actually is, which is the best kind of craft to find.
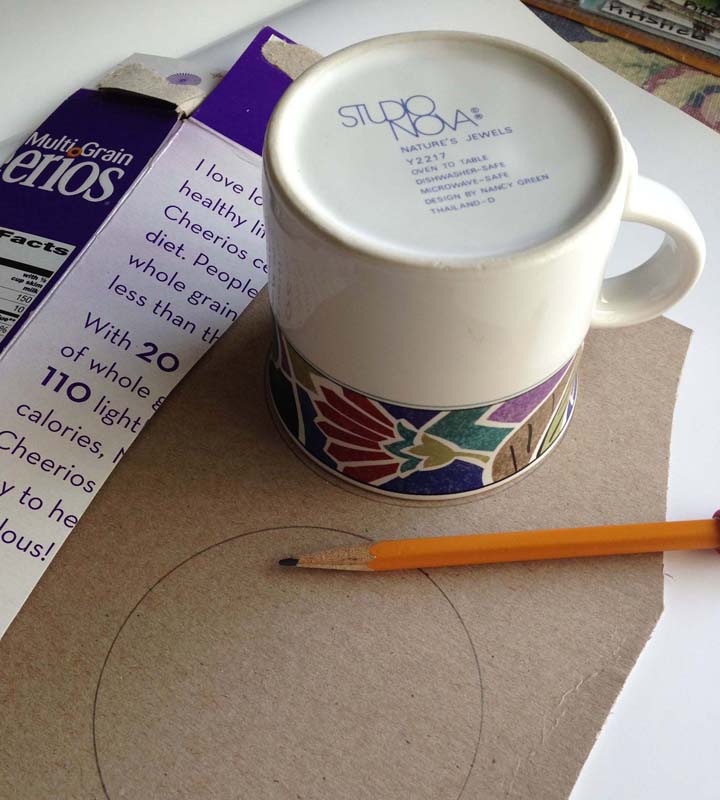 1. Trace any cup to make a circle about 3.5″ wide on lightweight cardboard (cereal boxes work great). A little larger or smaller circle will work too.
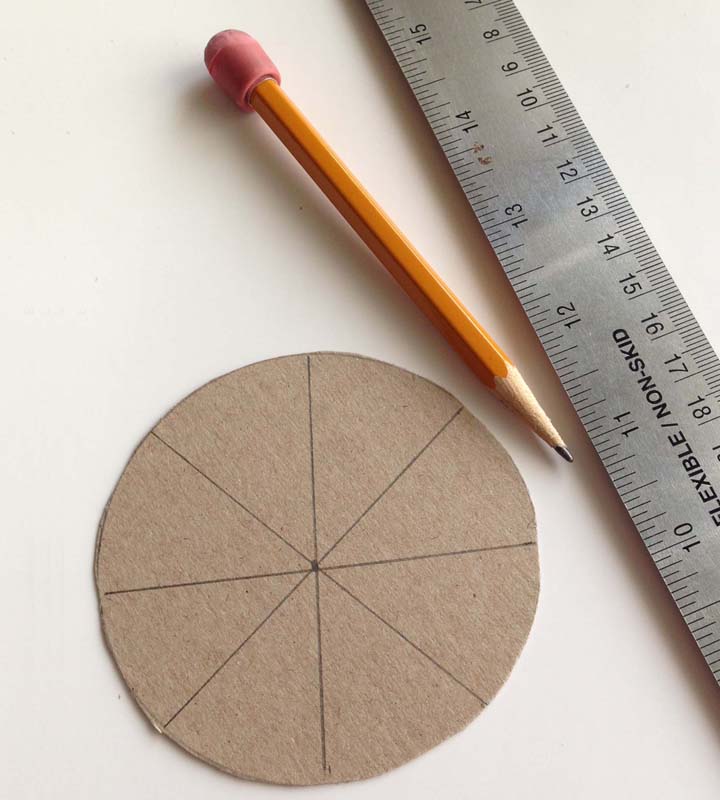 2. Draw four lines to divide the circle into 8 equal sections. Super precise measurements are not necessary, eyeball guesses will be OK.
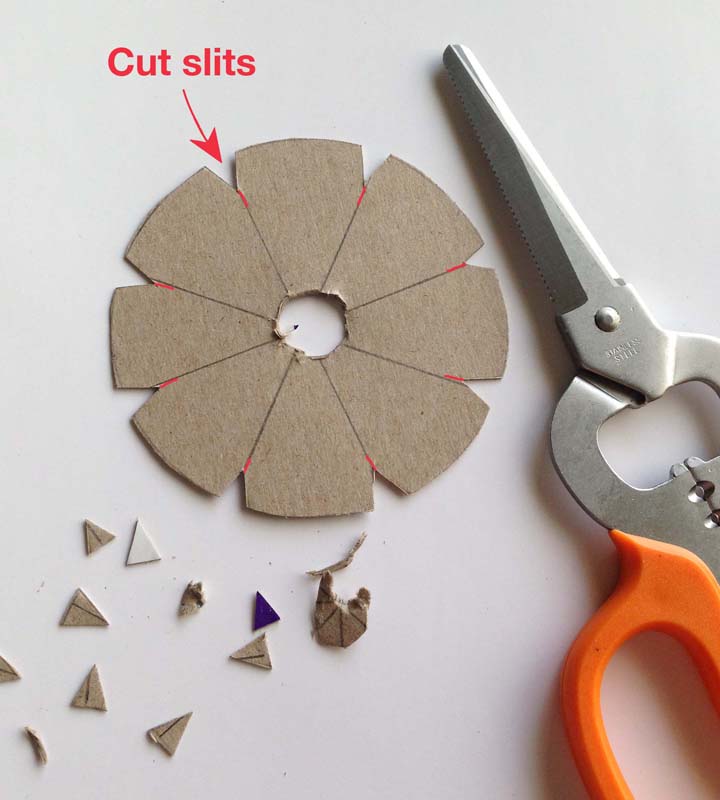 3. Cut eight notches out of the circle and add slits. Cut the center hole with a small scissors.
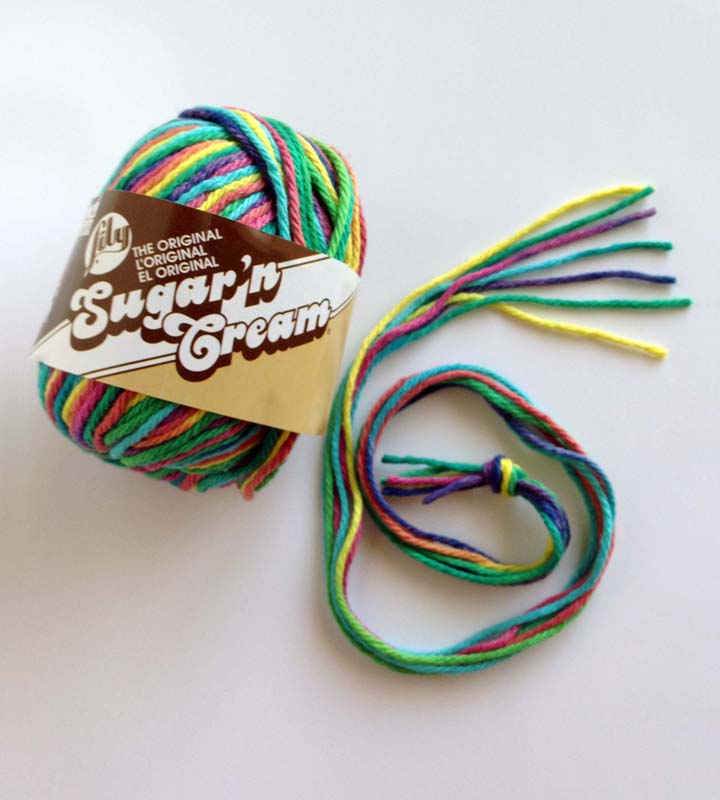 4. Cut 7 equal sections of yarn, about 18″ long. If you start with anything longer, the yarn tends to tangle up. Tie one end with a knot.
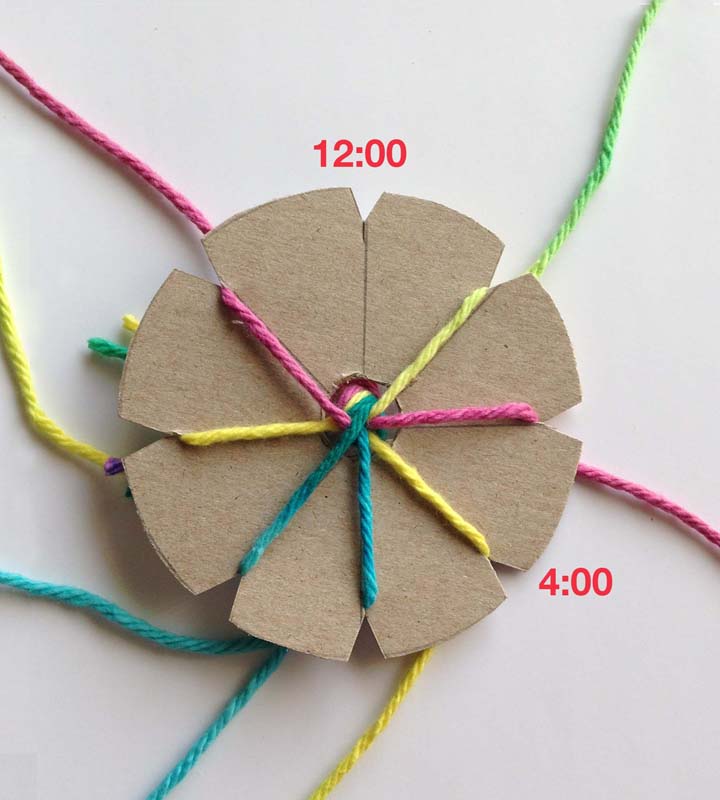 5. Place the knot in the hole and slide all 7 ends into slots as shown. One will be empty. Align as shown above so that the empty is at the 12:00 position.
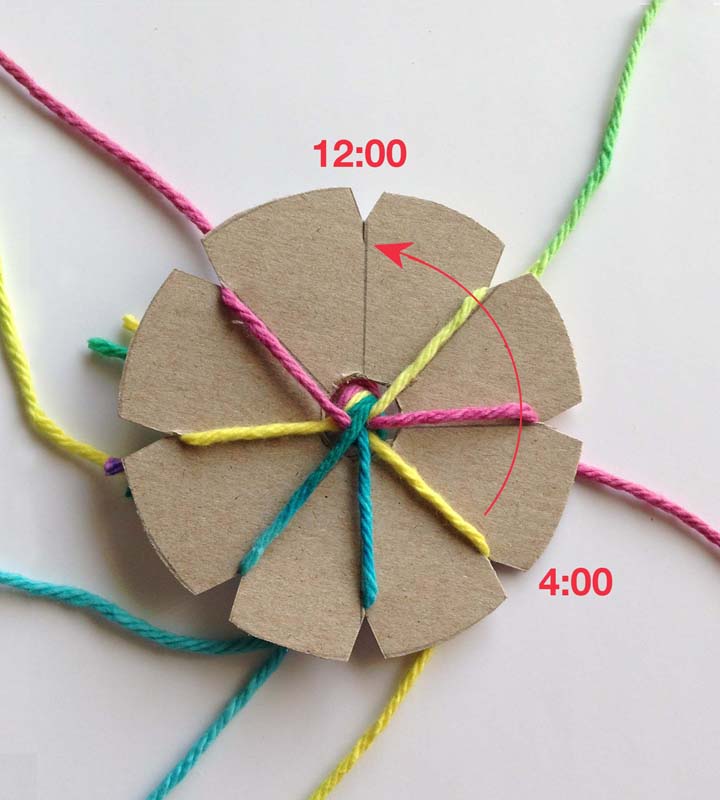 6. Take the 4:00 yarn out of its slot.
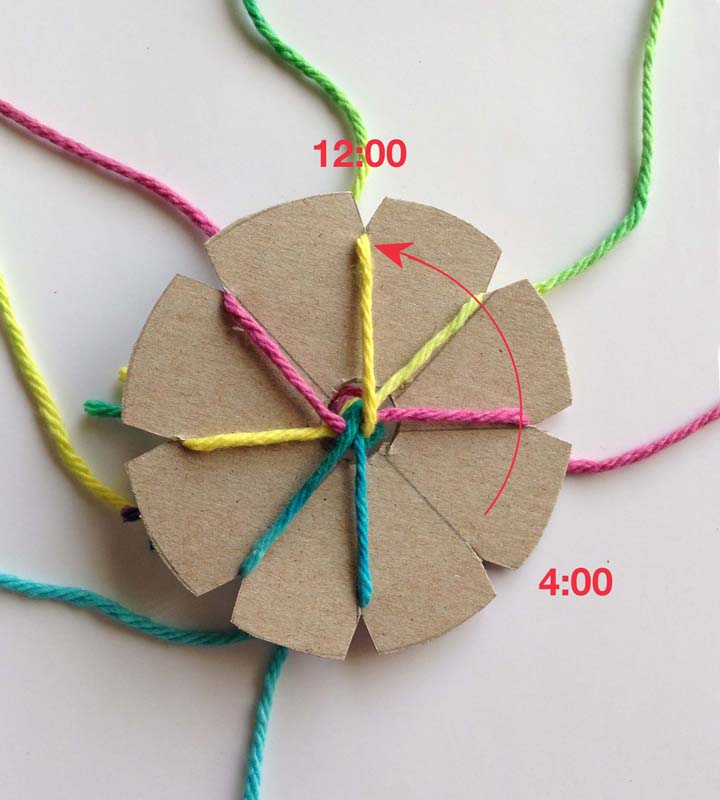 7. Insert the yarn into the 12:00 slot.
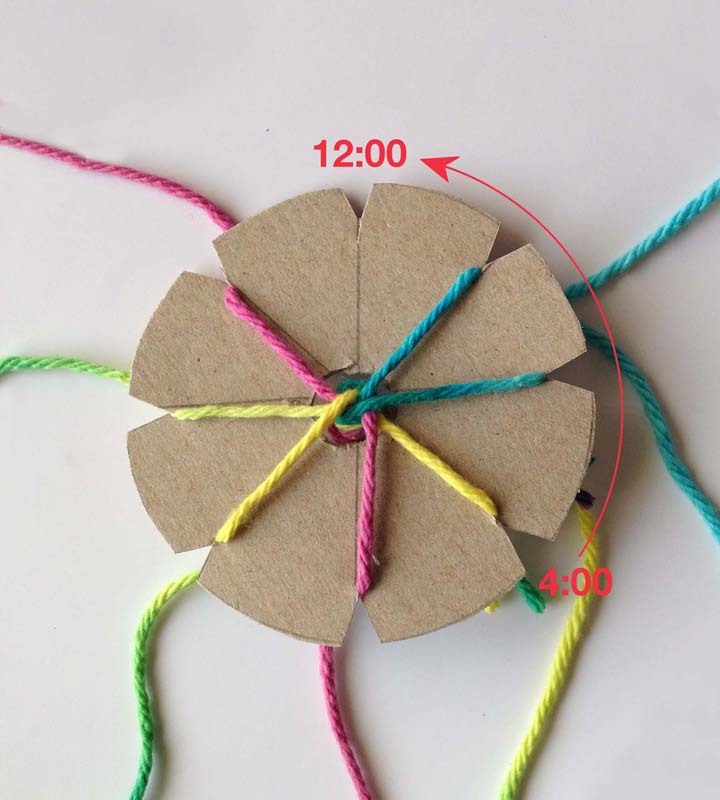 8. Rotate the cardboard to the left so that the empty slot now sets at the 12:00 position. Repeat so that the 4:00 yarn is always moving to the empty 12:00. Always rotate the cardboard to the left and repeat, keeping the yarns taut for a neat braid.
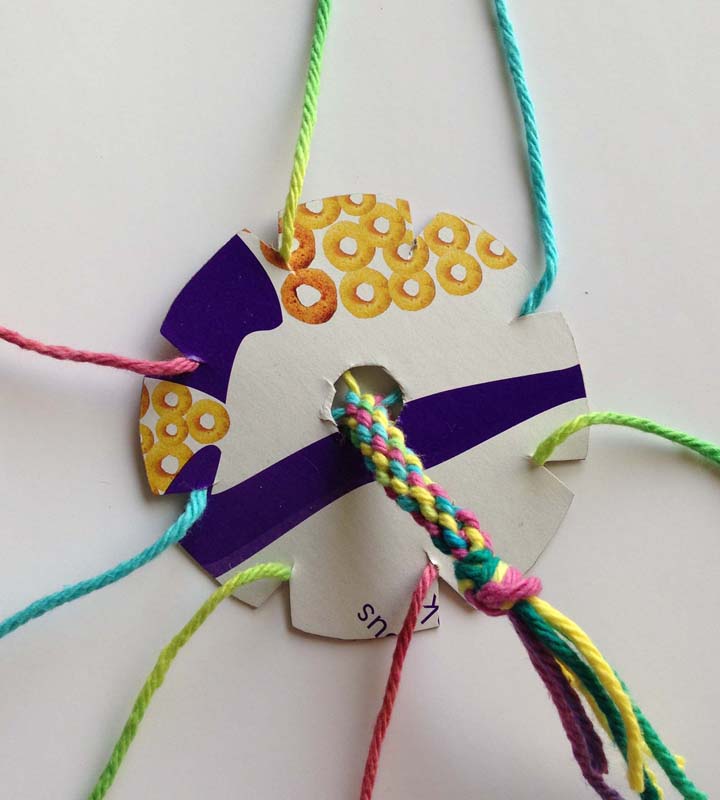 9. As rotations are made, a braid will start to form underneath.
 10. When the yarn is all used up, tie the end off and enjoy your braided cord!